UI Toolkit Setup Guide
This will guide you through the implementation of Pinnr using UI Toolkit, the new Unity's UI system.
Setting Up the UI Document
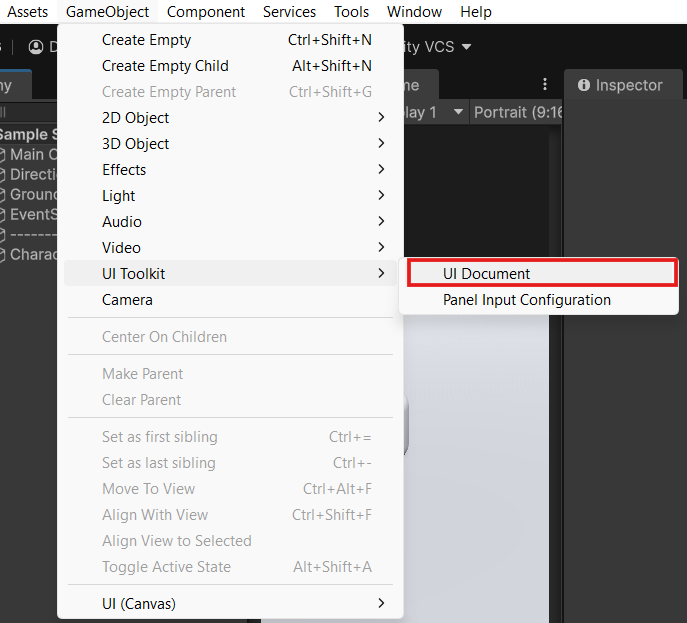
Create a UI Document GameObject by clicking on menu bar GameObject -> UI Toolkit -> UI Document.
This can also be done by right clicking inside the hierarchy, and select UI Toolkit -> UI Document.
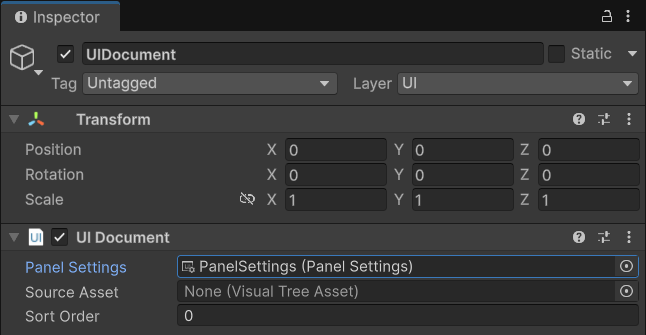
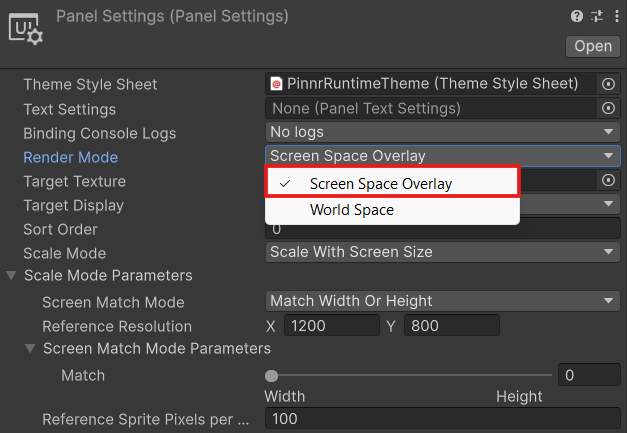
A default Panel Settings will be automatically assigned. Try to open the Panel Settings asset just to make sure that the Render Mode is set to Screen Space Overlay, because Pinnr currently doesn't support World Space render mode in UI Toolkit.
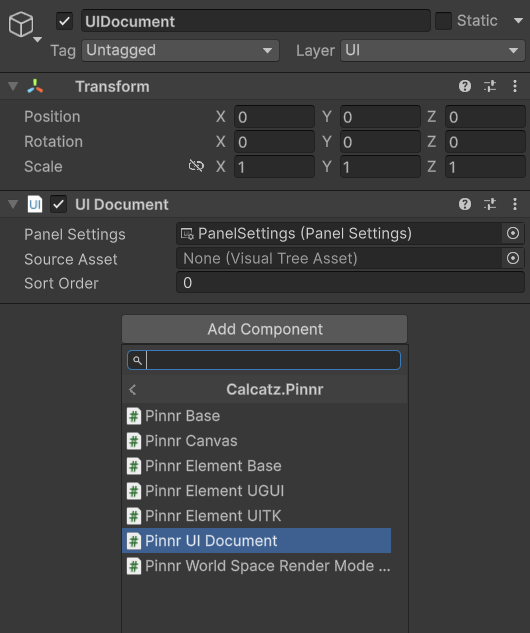
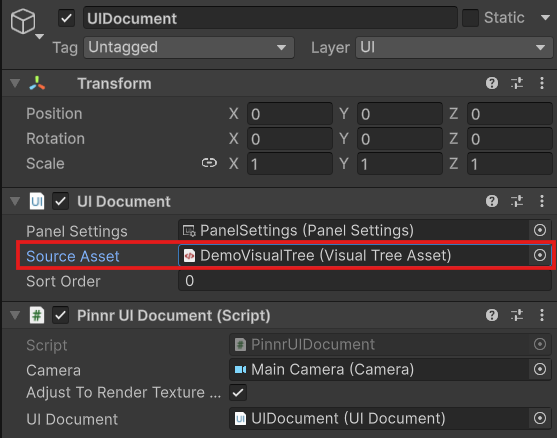
Add a Pinnr UI Document component inside the created UI Document GameObject, by clicking on inspector Add Component -> Scripts -> Calcatz.Pinnr -> Pinnr UI Document.

The properties will be automatically assigned if we properly add the component to a UI Document GameObject. The Camera property will be automatically assigned from the main camera, but in case we want to choose a specific camera, then we can also manually assign the camera reference.
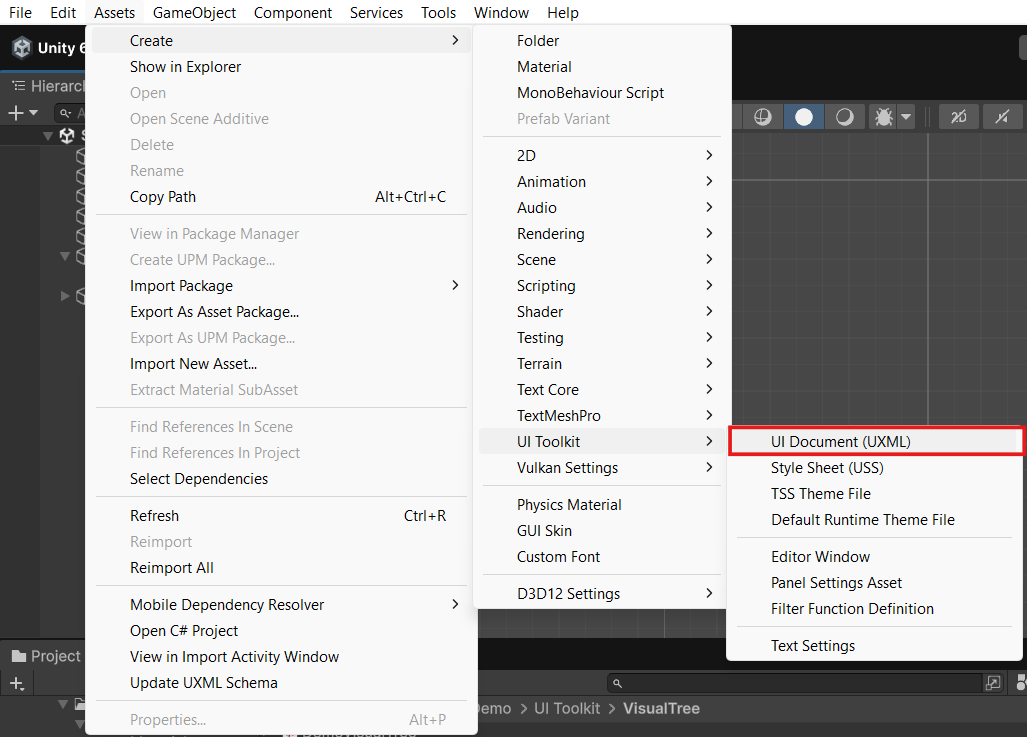
Create a new Visual Tree Asset (UXML) by clicking on menu bar Assets -> Create -> UI Toolkit -> UI Document (UXML).
Assign the newly created UXML to the Source Asset field of our previously created UI Document GameObject.
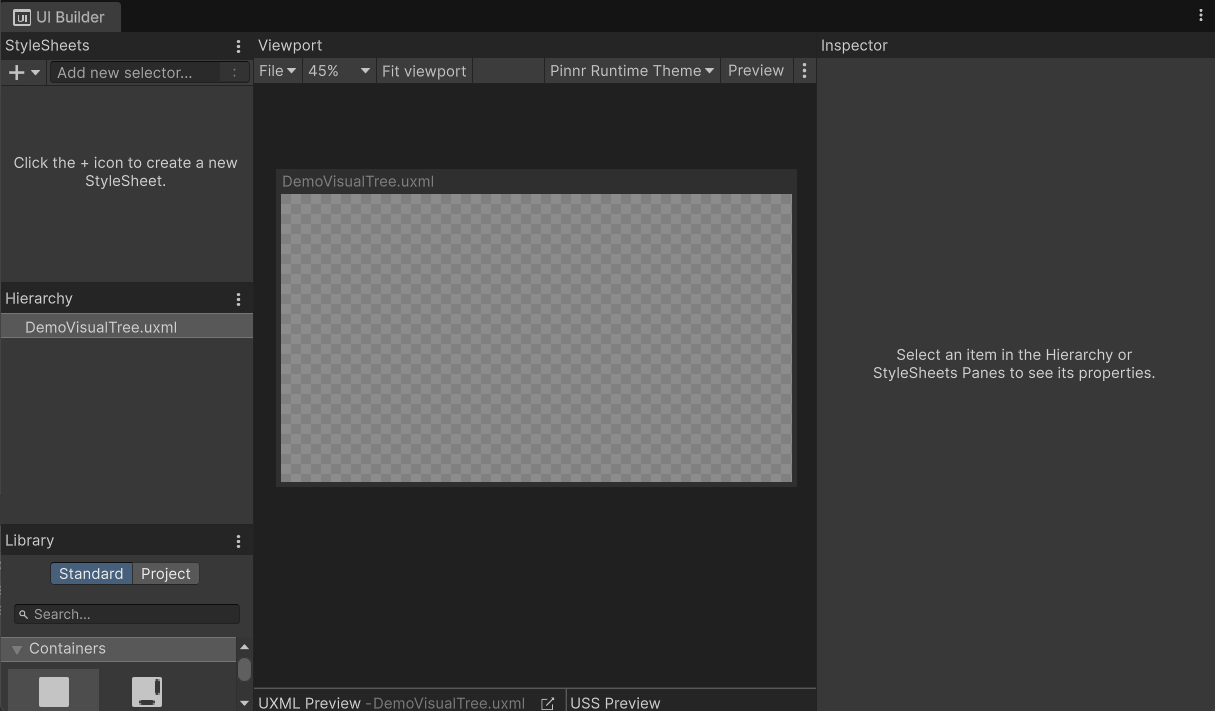
You can double click the UXML asset to open the UI Builder. This is where we will add our Visual Elements.
Setting Up the World Space Target Object
There is no restriction on how we set the world space target object. We only need to specify which Transform to track, and that Transform will be used to determine the position of the UI elements.
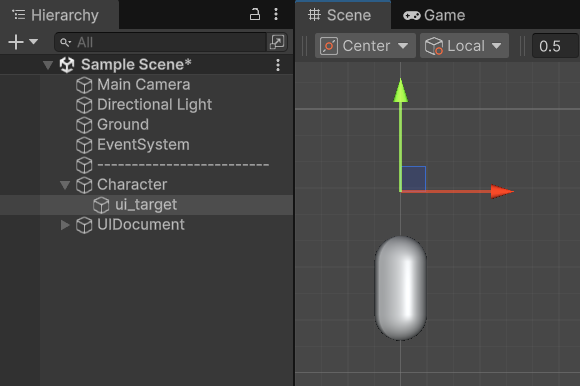
In the demo scene, we add a UI element that follows the top of a capsule character. To do this, we create a child GameObject positioned above the character, which is then used as the target for the UI element to follow.
Setting Up the UI Element
Preparing the UXML
We can create any Visual Element we want in the UI Builder first. If you are not yet familiar with Visual Elements, refer to the provided DemoVisualTree for an example of a working Pinnr element in UXML.
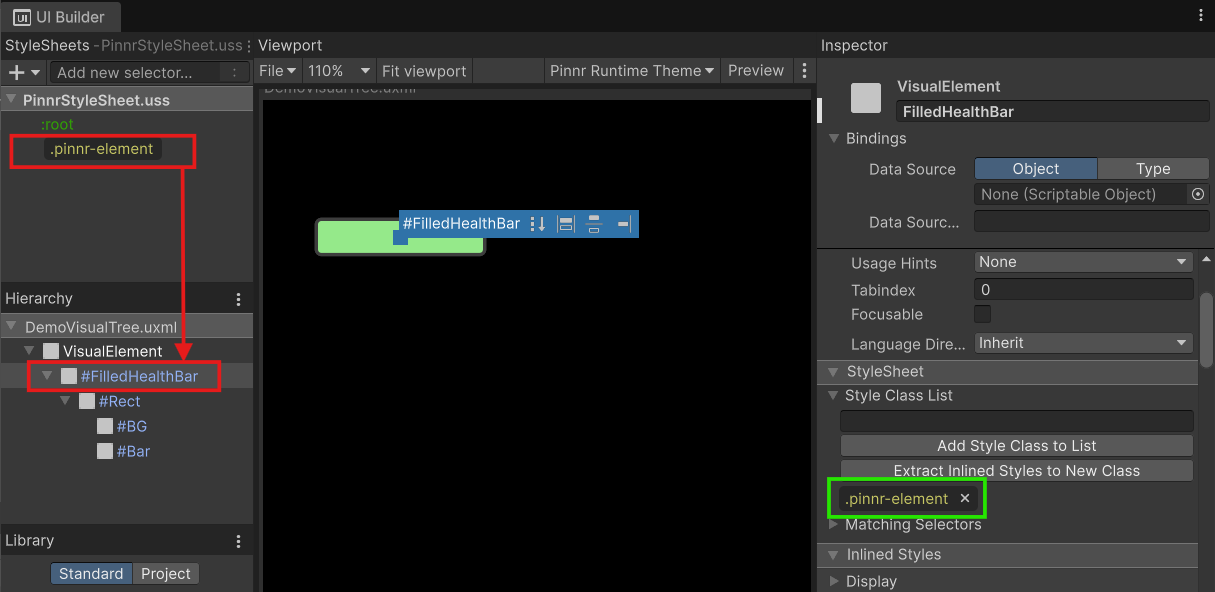
For a Visual Element to work properly with Pinnr, the style's Position Mode must be set to Absolute. The element's name must also be unique for query purpose.
For a faster setup, we can use the provided PinnrStyleSheet.uss file and add it to our UXML through the UI Builder.
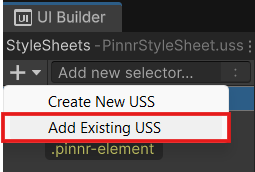
There will be a class in the StyleSheet called .pinnr-element. Drag and drop to an element that we previously created. This class handles the necessary style settings, including the absolute position mode.
Implementing the Pinnr Element
Unlike in UGUI Canvas, a Visual Element in UI Toolkit does not have a GameObject or Component that exists in the hierarchy.
To apply the world space target’s position to a Visual Element, the Pinnr Element UITK component is required. It queries the Visual Element and updates its position accordingly.
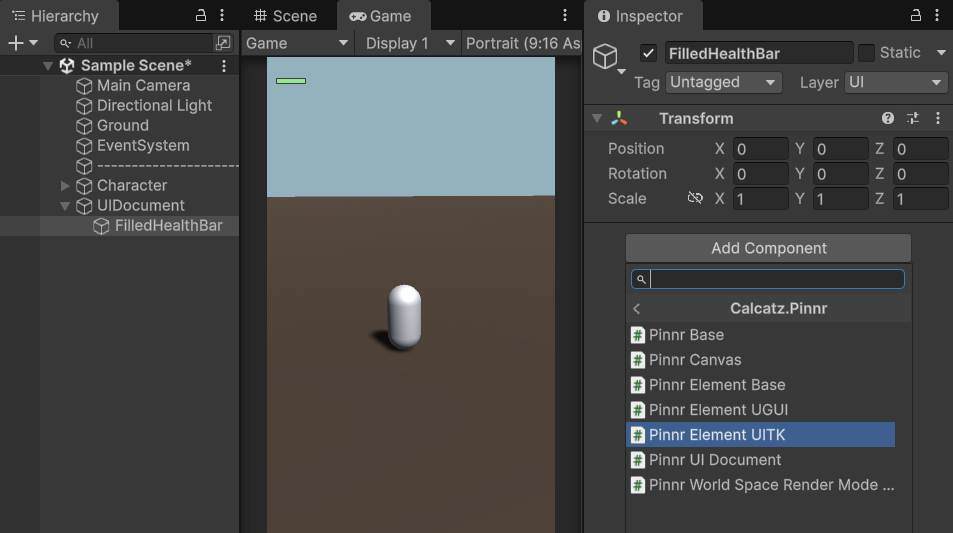
The Pinnr Element UITK component can be added to any GameObject, but for better organization, it is recommended to place it on an empty child GameObject of the UI Document GameObject.
Add the Pinnr Element UITK component by clicking on inspector Add Component -> Scripts -> Calcatz.Pinnr -> Pinnr Element UITK.
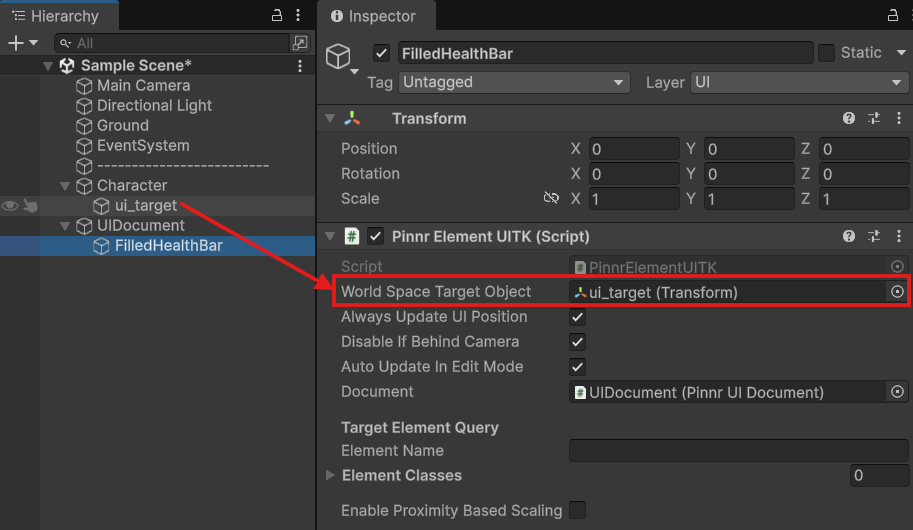
Assign the World Space Target Object that we created before.
Insert the name of the Visual Element in the Element Name field. This is is why the element's name must be unique. Classes can also be used to narrow down the query.
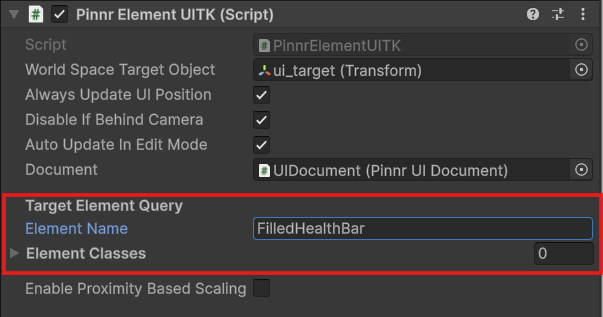
- World Space Target Object: The world space target object that the UI element should follow.
- Always Update UI Position: Update UI position every frame. If our UI element doesn't need to keep following the target, we can choose to disable it for optimal performance, and update the position by script only when needed using the
UpdateUIPosition()method. - Disable If Behind Camera: Disable the behaviour (prevent showing it on screen) if the target object is located behind camera.
- Auto Update In Edit Mode: Auto update position every frame update in edit mode (when the editor is not in play mode).
- Document: This will be initialized automatically, as long as the root UI Document GameObject has a Pinnr UI Document component attached. This is required.
- Enable Proximity Based Scaling: Enable this to use proximity-based scaling. This will scale the element based on a distance between camera and the UI element.
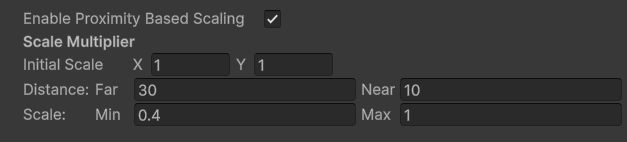
- Initial Scale: Initial scale of the element.
- Distance:
- Far: If the distance between camera and this element is more than or equal to far value, then apply min scale.
- Near: If the distance between camera and this element is less than or equal to near value, then apply max scale.
- Scale: Scale value to apply based on the specified distance values. If the distance is between far and near, then the scale is applied based on the percentage between far and near distance.
- World Space Scale Render Factor (Unavailable for Pinnr Element UITK): Scale factor used for world space render mode only.
That is all we need to do, and the UI element we created will follow the target's position.